
How to Clear OneDrive Storage (Guide)
Many of us rely on OneDrive as our primary storage to store our important documents and files. With OneDrive, your files are accessible almost on any device, regardless of the location, time and operating system. The free plan of OneDrive offers a limited 5 GB of free storage. Depending on how you use OneDrive, the storage space can shrink rapidly and then you won’t be able to store any new files. As you approach the maximum storage quota, there are two options left: Upgrade your storage by paying more; or clean-up OneDrive storage to make room for new files. While the first option will cost you money, the second option is free and handy. Let’s discuss it.
The easiest way to clear up OneDrive storage space is to delete duplicates. And there is no better way than doing so using Cloud Duplicate Finder.
Delete Duplicate Data in OneDrive using Cloud Duplicate Finder
CDF is safe and trusted, it uses the official OneDrive API to gain limited access to your data that you can revoke at anytime
Method 1: Automatically Find & Delete Large Files in OneDrive
A less known fact about OneDrive: OneDrive has an automated mechanism to find and display large files in your account. You don’t have to put hours of effort and browse through each folder manually searching for larger files. Here’s how to use the in-house functionality:
Go to your OneDrive account.
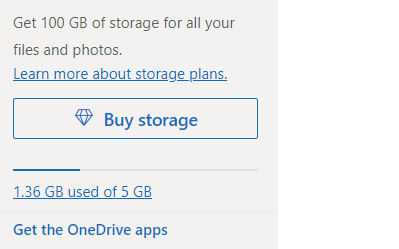
On the bottom left corner of the screen, you’ll see how much storage space is currently occupied and how much storage is offered in your current plan. Click on that information.
Click on “What’s taking up space?”

Wait for a moment. OneDrive will show up a new page with a list of large files in your account with their names.
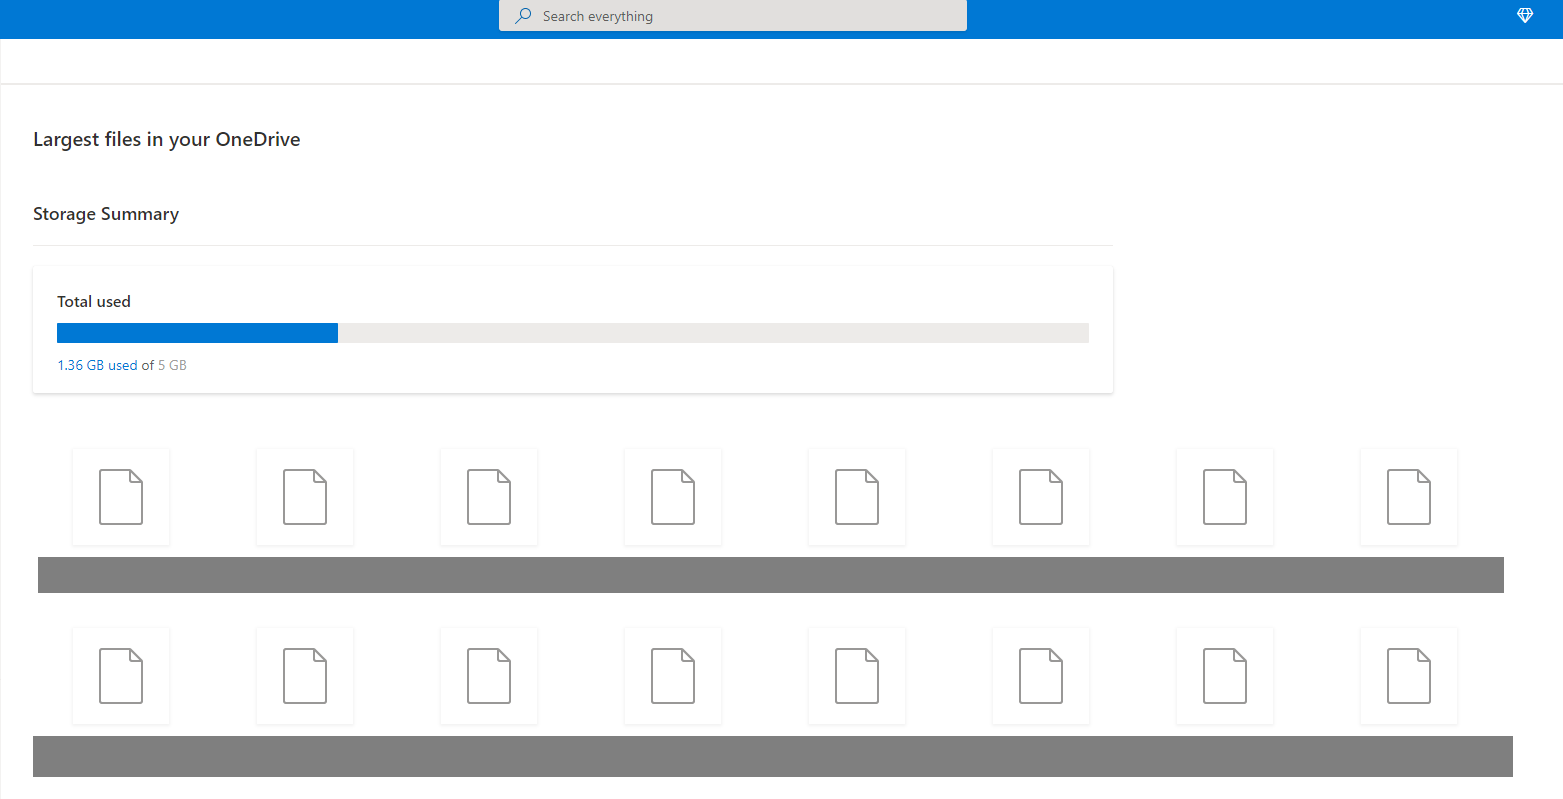
Just use the checkboxes on the upper right corner of the file icons to select them.
To delete the selected large files, click on the “Delete” icon on top.
Method 2: Find Large Files Using Custom Size Parameters
If you have the OneDrive application installed on Windows, there’s another alternate way. With File Explorer, you can get a list of all files on OneDrive above a specific file size of your choice.
The advantage of this method over Method 1 is that it allows you to enter custom file size in MB, GB, etc. and find only those files in the range. However, there’s a drawback as well. OneDrive app must be installed on your PC and you must sync all the files offline in order to do that. This will cost your hard drive/ SSD storage. You can unlink your account later to free it up.
Steps:
If you’re using Windows 11 or Windows 10, OneDrive is already pre-installed. Just click on the OneDrive icon in the notification area of your Taskbar.
If you’re using Windows 8.1/ 8, you can download it separately from the Microsoft Download Centre.
Please Note: OneDrive is no longer officially supported on Windows 7. Even if it works, it may behave unexpectedly or you may encounter any errors/ issues during file syncing.
Enter your login credentials and then click on the Sign In button.
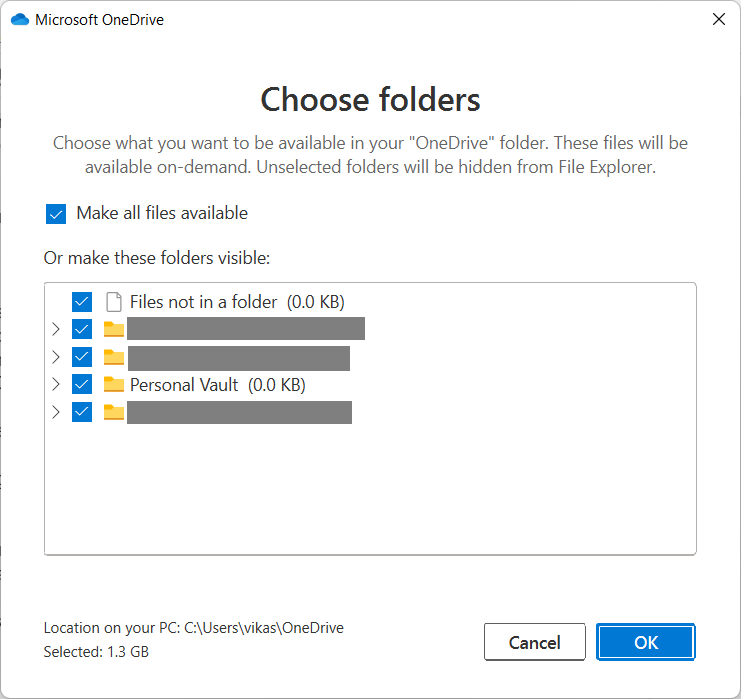
While setting up OneDrive for the first time, make sure to check the box “Mark all files available”.
You may have to wait for some time until all of your files are synced offline. This may take a lot of time depending on the size of your files.
Once your files are synced offline, you can view them inside the File Explorer.
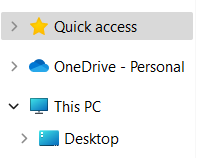
Open File Explorer and click on the OneDrive icon on the left.
In the Search Box on the top right corner, type “size:>500MB” (without quotes) and press Enter.
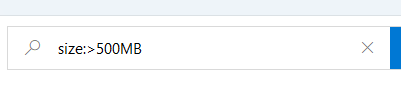
This will bring you a list of all large files above 500 MB in size. You can also modify the search query in Step # 7, if required.
Method 3: Automatically Find OneDrive Duplicate Files
What should you do if you want to reclaim OneDrive storage but at the same time retain the large files? There’s another better way: Find and delete the OneDrive duplicates, rather than targeting all the large files.
Duplicate files are identical versions of your existing documents. They are accumulated when you’re syncing the same OneDrive account on different devices such as another PC, a mobile, tablet or another device. As there’s no duplicate content identification mechanism in OneDrive, re-uploading the same file over and again can also cause unwanted duplication. Most users run into low OneDrive storage because of a lot of duplicate files.
Deleting duplicate files will help you free-up your storage within minutes. Here’s how:
Open Cloud Duplicate Finder website.
Click on Sign Up and register for free.
Click on the OneDrive icon > Add New Drive.
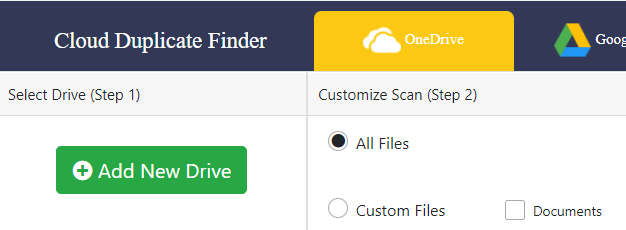
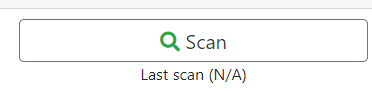
Check the folders you want to scan for duplicates and then click on the “Scan” button.
Once the scan is finished, check the files you want to delete and uncheck the ones you want to retain. You can also use the “Select Duplicates” button to automate this process.
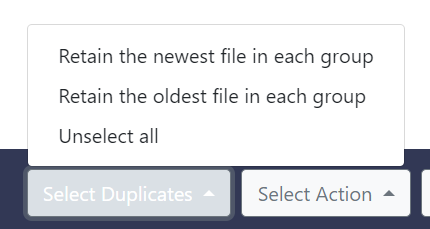
Finally, click on “Select Action” and choose “Permanent Delete” to permanently get rid of the duplicates, or select “Move to Folder” to move them to a temporary folder and review them later.
Method 4: Compress your Files
Another way to free-up OneDrive storage is to compress your files. Compressing will take less space and make room for new files. Unfortunately, there’s no built-in mechanism in OneDrive to compress files over-the-cloud. You must download your files to your local PC, compress them and then re-upload again. You can compress your files using a free tool such as 7-Zip File Manager.
Method 5: Migrate Files to Other Cloud Accounts
If you’ve multiple cloud accounts from different providers, you can migrate your OneDrive files to other cloud accounts with adequate free storage space.
- Sign up to MultCloud, an online cloud transfer platform. You can select the Free Plan during the signup process.
- Click on the Cloud Transfer tab.
- Select Add Cloud Drives from the left.
- Click on Next.
- On the next page, select OneDrive. If you’re using a business plan, choose OneDrive for Business.
- Click on Next.
- Enter a Display Name for your cloud account.
- Click on Add OneDrive Account button to confirm.
- Follow the similar process to add another cloud account (for example, Google Drive, Dropbox, etc).
- Now, click on the Cloud Transfer icon again.
- In the Cloud Transfer page, set the Source to OneDrive and Destination to your other account.
- Click on Transfer Now.
- The transfer shall begin. MultCloud transfer speed for free accounts is slower than the speed enjoyed by premium users. You may need to wait for some time until the transfer process is finished.
Method 6: Remove Yourself from Shared Files/ Folders
If you have lots of friends or colleagues who keep adding you as the owner of their shared folders, you might want to remove yourself to make some free space. When someone makes you an owner to a file or folder on OneDrive, your storage quota gets shrunk.
Sign-in to your OneDrive.
Click on Shared on the left-hand side panel.
Select Shared with Me.
Choose one or more shared files and then select the Remove option.
Vikas is a technology enthusiast who loves writing articles on computers and technology. He writes on various topics related to software, software reviews, troubleshooting and tips & tricks to make people’s digital lives better.