How to Remove Duplicate Video Files from the Cloud
Nowadays, all of us rely on different cloud services to store our data. A cloud service is a technology which enables us to store and backup our files on the online servers. It gives us the freedom of accessing our data at any time and place.
A Cloud storage service gives us the flexibility in terms of quick access to our files. It is often used as a backup and recovery plan to mitigate the risk of data-loss. The cloud drives are often reliable as they backup data to multiple servers, and keep the information in an encrypted-format.
Although the cloud computing services are quite helpful, there are some setbacks too that we face while using these services. One of these problems is the duplication of files such as videos, photos, songs, documents and more. Often when we enable auto-upload of our pictures or videos on the cloud, the cloud service automatically synchronizes our data on their servers. Due to the synchronization process, the same files are uploaded more than once.
The repetition in the data could be due to multiple reasons such as:
- Files are present in multiple folders
- The names of the similar files are different from one another
- There is a change in file extension
- There is a difference in sizes of the files
If you are using popular cloud services like Google Drive, Dropbox, Box or OneDrive, it is quite possible that you encounter the problem of duplication in files due to above-mentioned reasons. Now, the solution to eradicating this problem is that you can try the traditional way of removing these duplicates by manually locating and deleting the files, going through each folder. This would be a hectic and time taking job.
Or, instead, you can try our recommended web-application, Cloud Duplicate Finder.
Cloud Duplicate Finder examines the data that you have uploaded on a cloud-based service and then detects the duplicate files which you can then remove easily.
Features of Cloud Duplicate Finder (CDF)
CDF detects all types of duplicate files making it easier for you to delete them. You can;
- The web application has 256-bit encryption, which is one of the most secure encryption methods nowadays.
- It does not store your Cloud drive passwords.
- Your personal files are not stored on their server.
- You can delete any type of duplicate audio songs
- You can delete all kinds of duplicate documents
- You can delete duplicates of video files as well
- You can delete duplicate images of any format
- You can even delete duplicated compressed files
Not only these files, but Cloud Duplicate finder also supports all other formats of files, making it the ultimate web application to delete duplicates.
How Does Cloud Duplicate Finder Work?
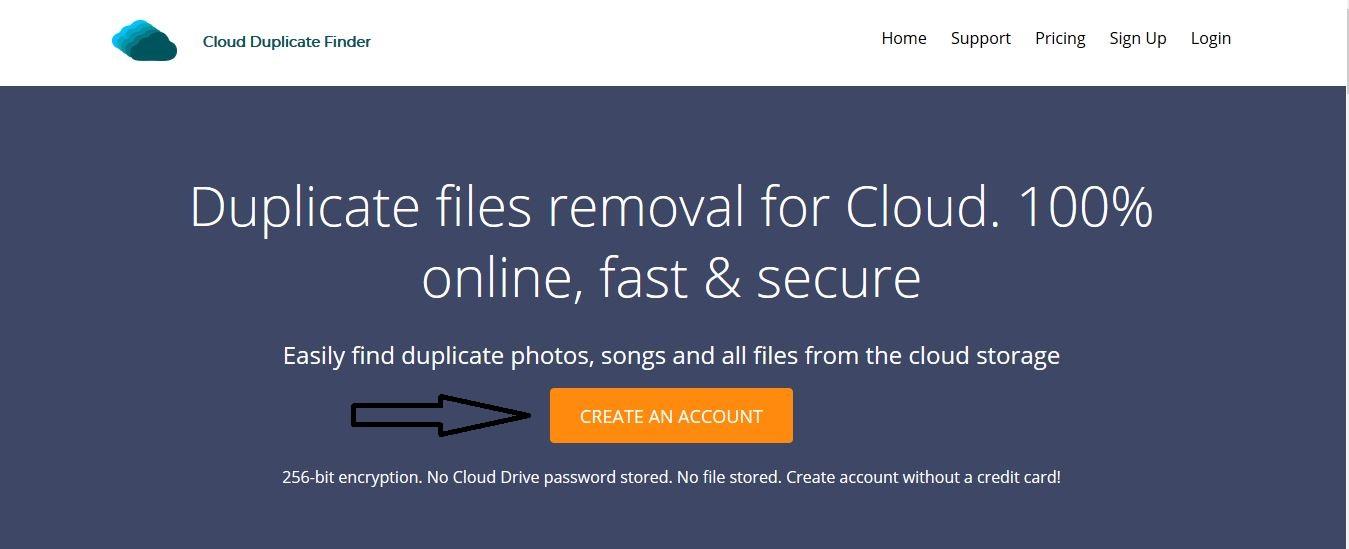
Well, the process is quite simple: First, you have to go to https://cloudduplicatefinder.com/ and create a free account.
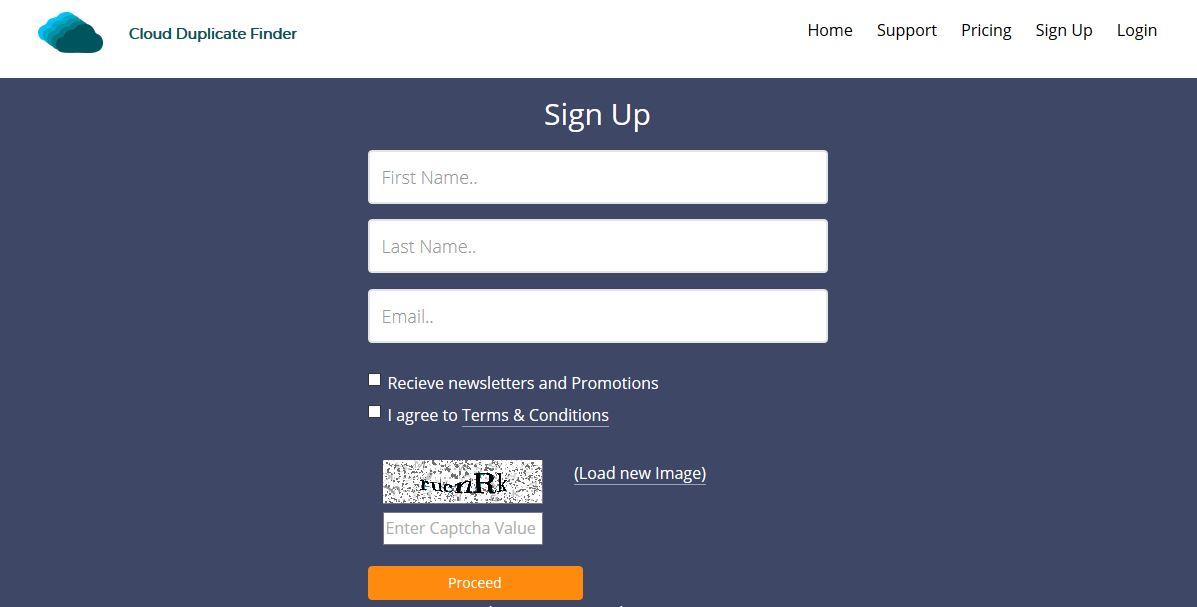
Once you click on “Create an Account”, A new registration page will appear.
Simply fill out the required details and click proceed.
After this step, you will be sent a verification mail to your email ID. Verify your account to get started.
After you have verified your account, you will get back to the main screen. Sign in to proceed ahead.
Now, after you have signed in, you will be directed to choose a cloud drive so that you can add your details for that cloud account.
Now, let’s say you have lots of duplicate video files in your Cloud drives and you want to delete them. You have 4 cloud-based services available to choose: Google Drive, Dropbox, OneDrive, and Box. Let me briefly tell you about removing duplicate videos from each one.
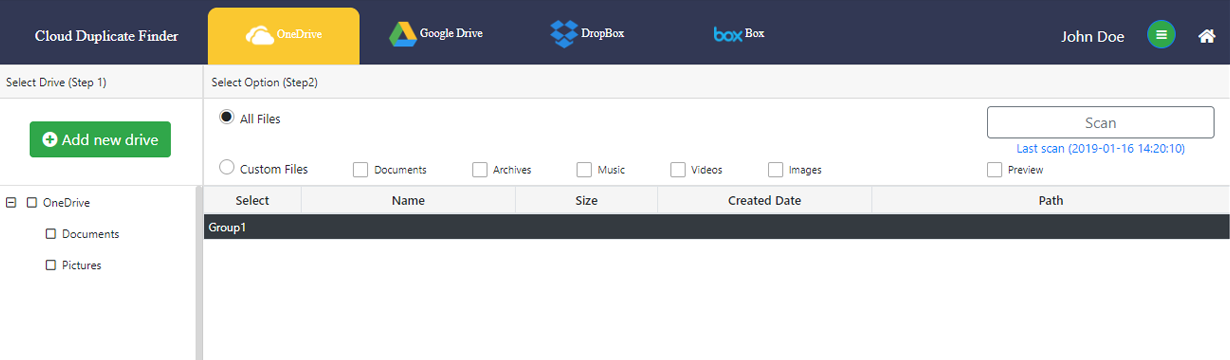
Remove Duplicate Videos from OneDrive
At this point, you’ll want to integrate your OneDrive account with the Cloud Duplicate Finder.
If you are a user of OneDrive and want to remove the duplicate videos from your synced data, you can easily do it through web-application Cloud Duplicate Finder.

- Simply create an account on Cloud Duplicate Finder website, as described above.
- After you have successfully signed-in to your Cloud Duplicate Finder account, you will be prompted to choose a Cloud account.
- Hover your cursor on the OneDrive icon and click on it.
- Once you are in the OneDrive tab, Click the Add new Drive to add your account.
- You will be requested to accept the permissions to access your account.
- Once you are connected, you will see your synced OneDrive files and folders.
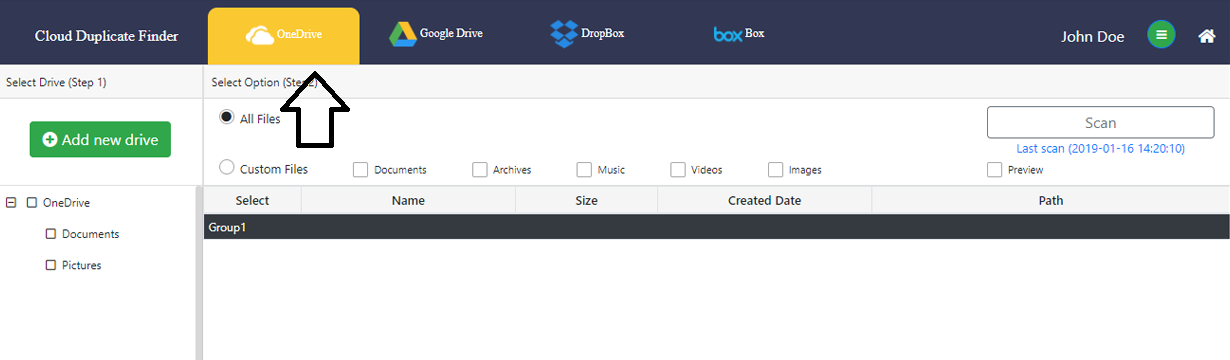
- Select the video files that you want to be scanned.
- After selecting the files, start the scanning process to scan for duplicate files.
- After the scanning is done, a list of duplicate files will be displayed.
- Select the duplicate videos, click on Remove Button and Voila, you have now removed all your duplicate videos from your OneDrive.
- If you don’t want to delete the duplicate files yet, you can also move them to another folder.
Find Duplicate Videos in Google Drive
You’ll now see the list of all OneDrive folders in the left panel of your screen.
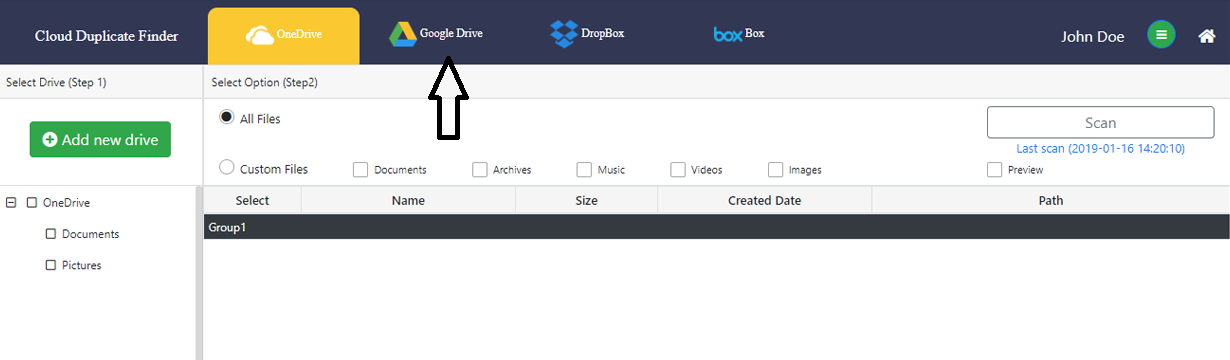
Now, if you want to remove duplicate videos from your google drive, you have to follow the same procedure as mentioned above.
- Create a Cloud Duplicate finder from their website.
- Or if you have already created an account, just Log In to get to the application area.
- Move your cursor to the Google Drive icon and click on it.
- In the Google Drive tab, you will be given the option to add a new drive, click it.
- You will be requested to connect your Google Drive account, click on accept to give them permission to sync your account.
- After successful synchronization, click the Scan option to scan and find your duplicate videos in Google Drive cloud.
- After the scan is completed, a list of duplicate videos will be displayed.
- Select the files that you wish to remove, and then click the delete option.
- Congrats, you have successfully deleted your duplicate videos.
Delete Duplicate Videos from Dropbox
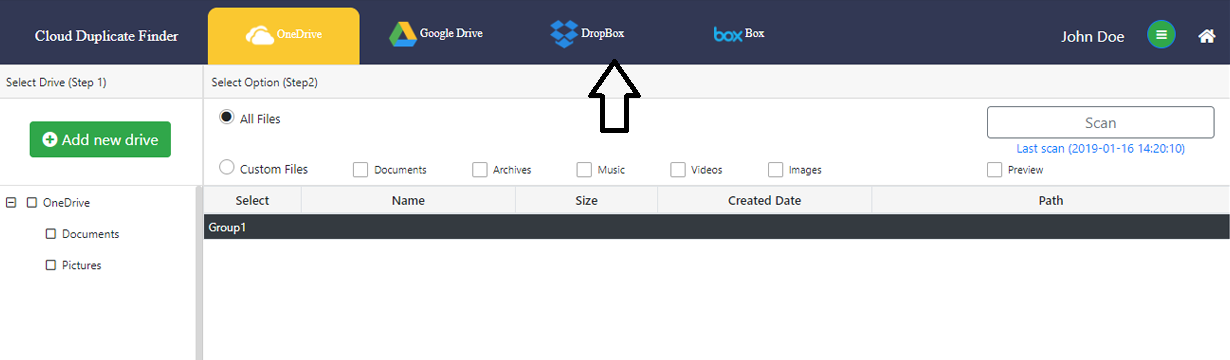
If you are a Dropbox user and want to delete duplicate videos from your synced Dropbox-folders, all you have to do is to go to Cloud Duplicate Finder’s website and create a free account.
- After creating your account, check your email for verification of your association with them.
- Once you have verified your account, log in to the website to get things started.
- After arriving on the main page, hover to the Dropbox icon and click on it.
- In the Dropbox drive section, add your Dropbox account by adding a new Drive.
- After you have entered your account details, click to confirm your identity and give access to sync your Dropbox files.
- Upon the completion of verification, you will be prompted to scan screen where all your synced folders will be displayed.
- Choose the desired folders that you want to scan for duplicate files.
- The scanning system will take time, depending upon the size of synced data.
- Once is scan is completed, all your duplicate videos will be unveiled on the screen.
- Select the required files that you wish to remove and click on delete.
- After you have deleted the files, go to the Trash section to delete the files permanently and clean up some space on your drive.
Clean Duplicate Videos from Box Cloud service
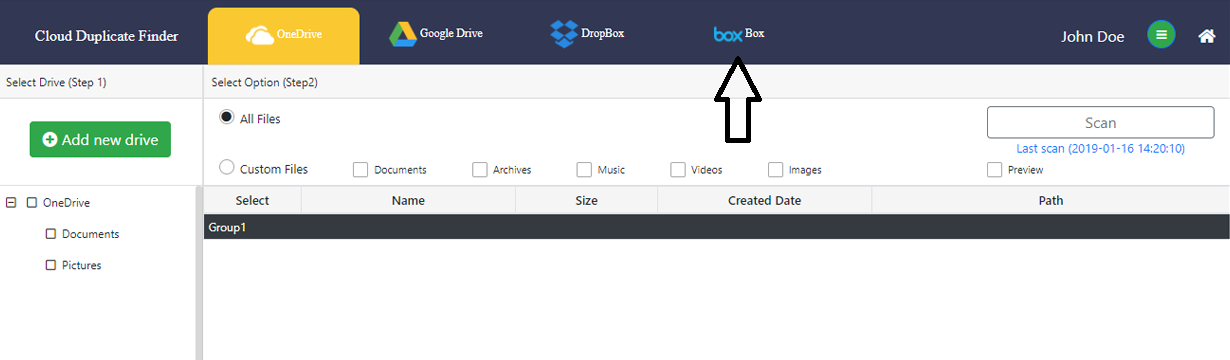
If you use Box cloud service and wish to delete duplicate videos from your drive, you can easily do it through Cloud Duplicate Finder.
- Go to the Cloud Duplicate Finder website and make an account.
- After creation and verification of your account, enter your credentials to sign in.
- Now, go to the Box tab and add your box drive account by clicking on “Add new drive”
- After entering your account details, you will be prompted to give permission to verify and access your Box account.
- After successful verification, you will be given the option to select files.
- Select the folders where you think duplicates are found, and click Scan.
- After a thorough scanning process, the duplicate videos from those folders will be displayed on the screen.
- You can opt to delete those files or if you wish to keep them, you can move them to a separate folder.
- After deleting the files, you will be prompted to confirm your action.
- You can go to the trash section to remove the files permanently.